Upgrade LCM
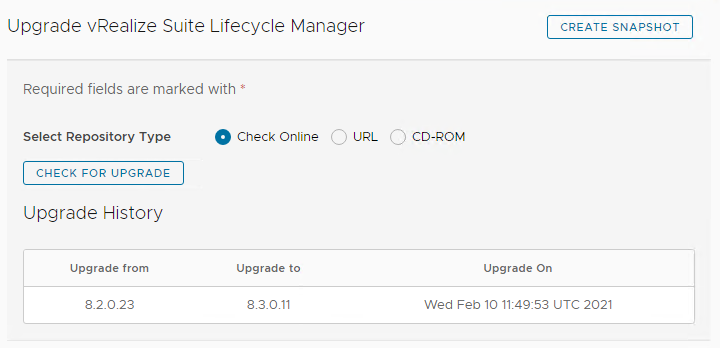
Log in to LCM> Lifecycle operations> Settings> System upgrade
Create snapshot
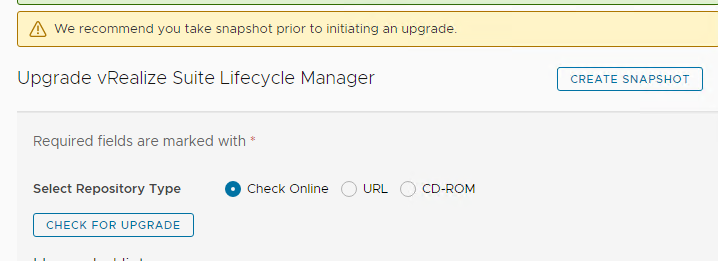
Once snapshot is done, Click on Check for upgrade,

vRLCM will reboot as a part of the upgrade. Wait patiently… (go have a coffee)
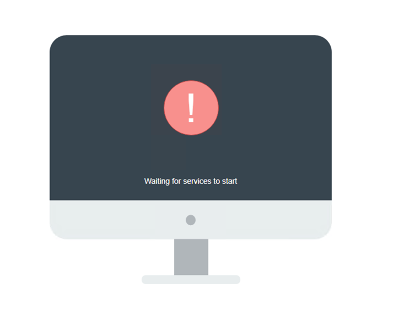
On successfull upgrade, we should see :
Add vRA package repository to LCM
Download vRA 8.3 upgrade repository from https://my.vmware.com/group/vmware/downloads/details?downloadGroup=VRA-830&productId=1116&rPId=59213

copy the ISO to LCM, /data directory

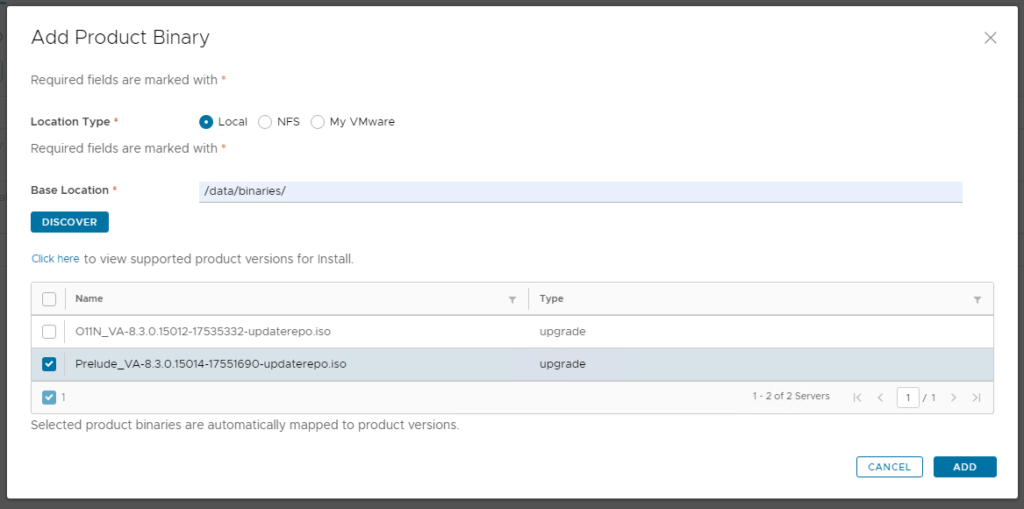
Now, Go back to LCM> Lifecycle operations> settings > Binary mapping>Add product binaries, enter path in base location and then cick on discover

Clock on the prelude(the one we uploaded) and click on add
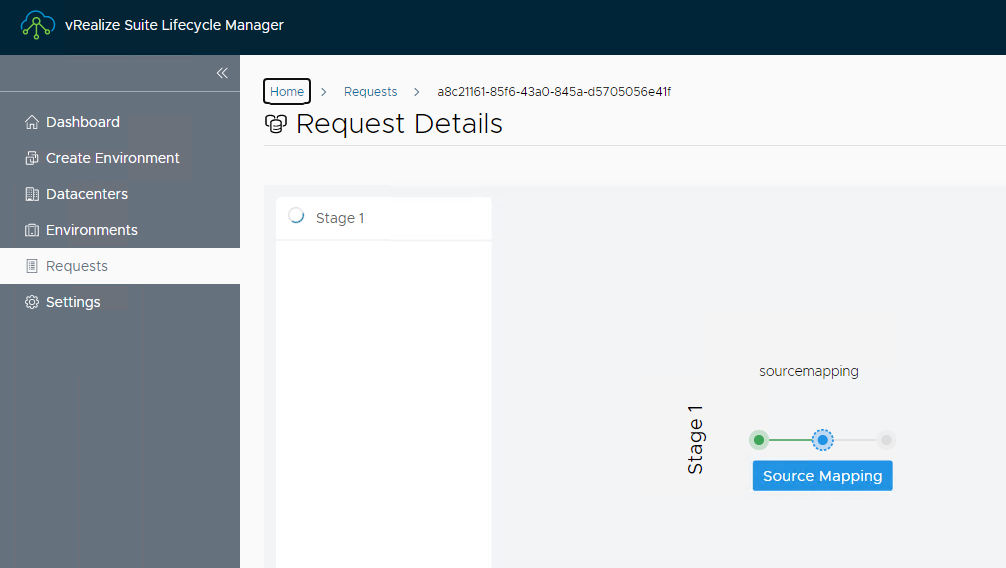
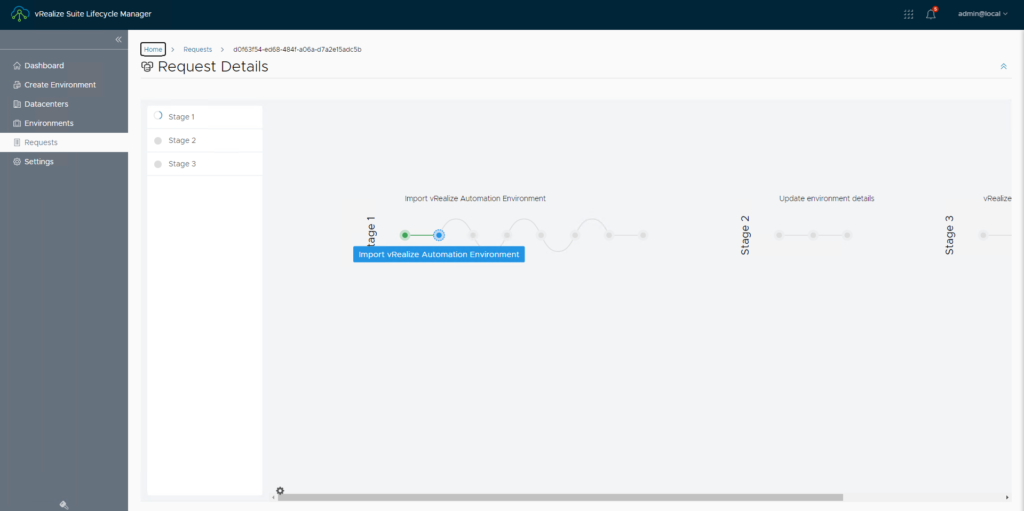
wait for the import task to compleate. You can take a look at the task by clicking on requests > Click on the most recent request
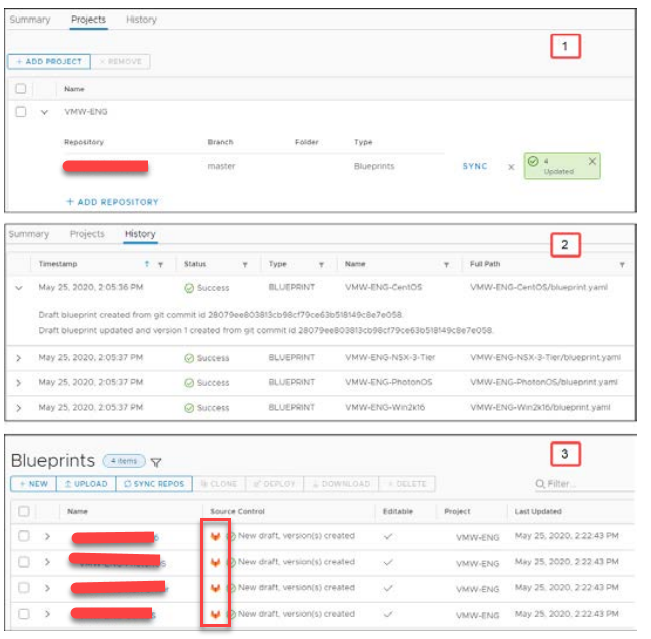
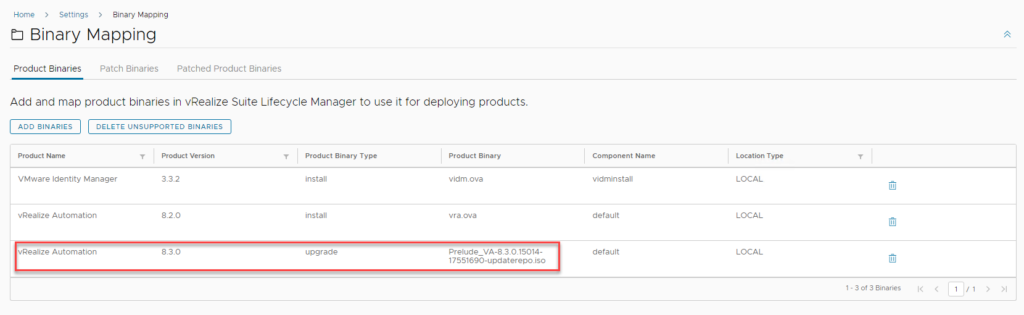
On successfull import, you should see it in the binary mapping:
Upgrade VRA:
Now that the upgrade packages have been uploaded to LCM, Go into LCM > LifeCycle Operations > Environments > Click on “view details” for the vRA environment.

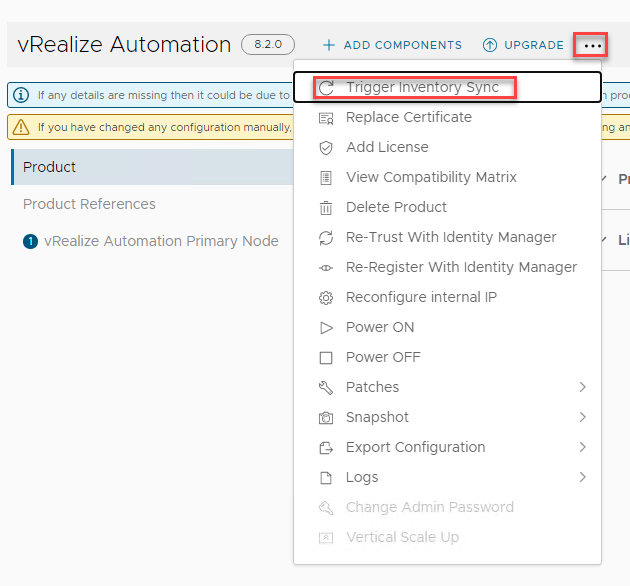
Triger inventory sync:
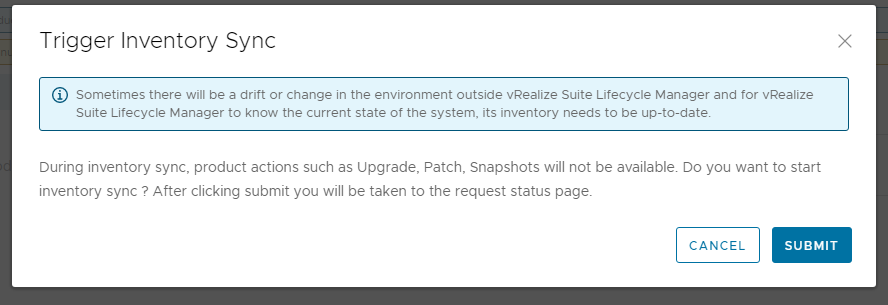
Go grab a coffee!!, Typically at this point its just waiting for vRLCM to perform the upgrade.
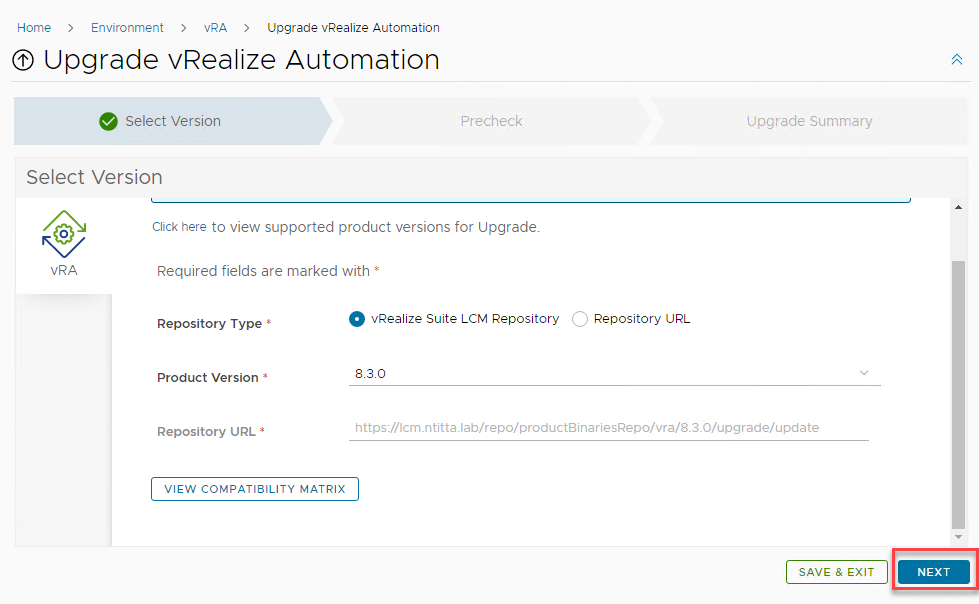
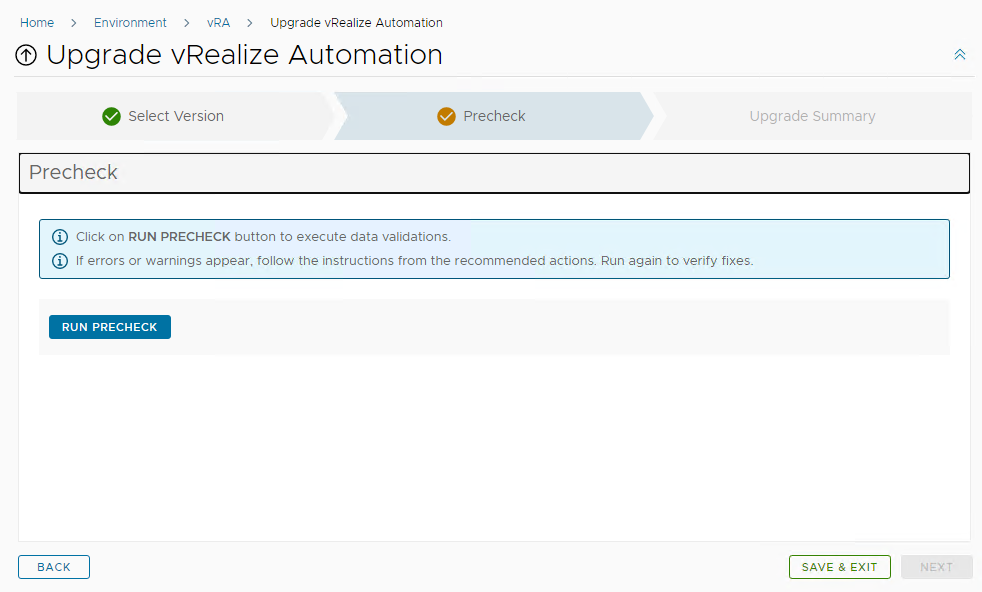
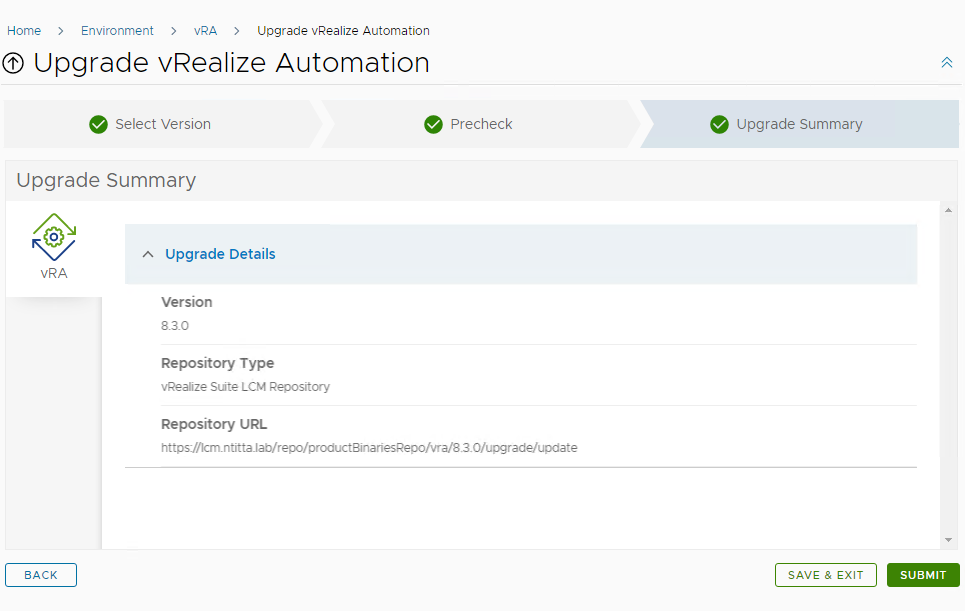
Click on upgrade:


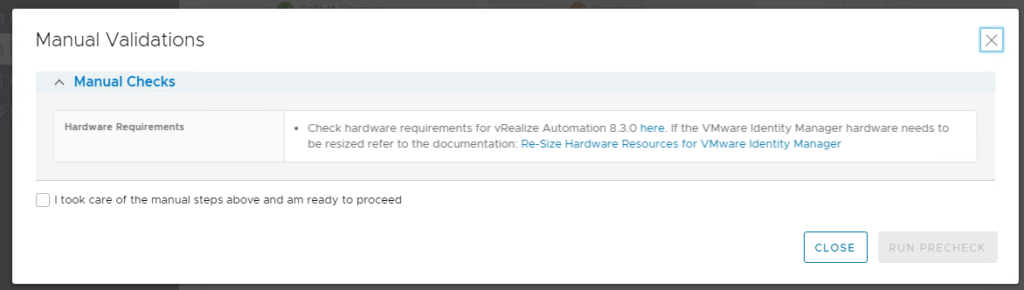
Run pre-check
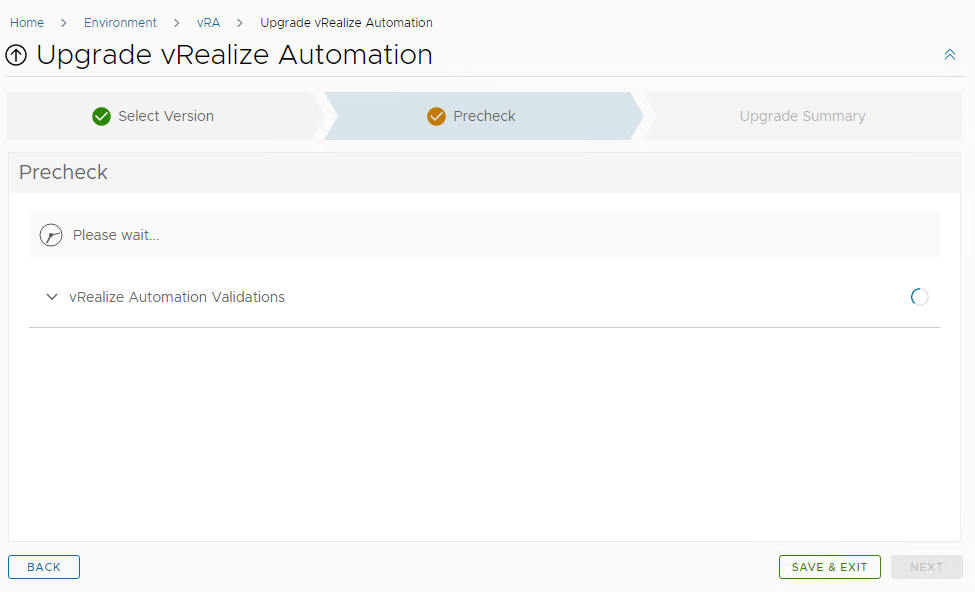
wait for pre-check to complete: (takes about 3-10 min)
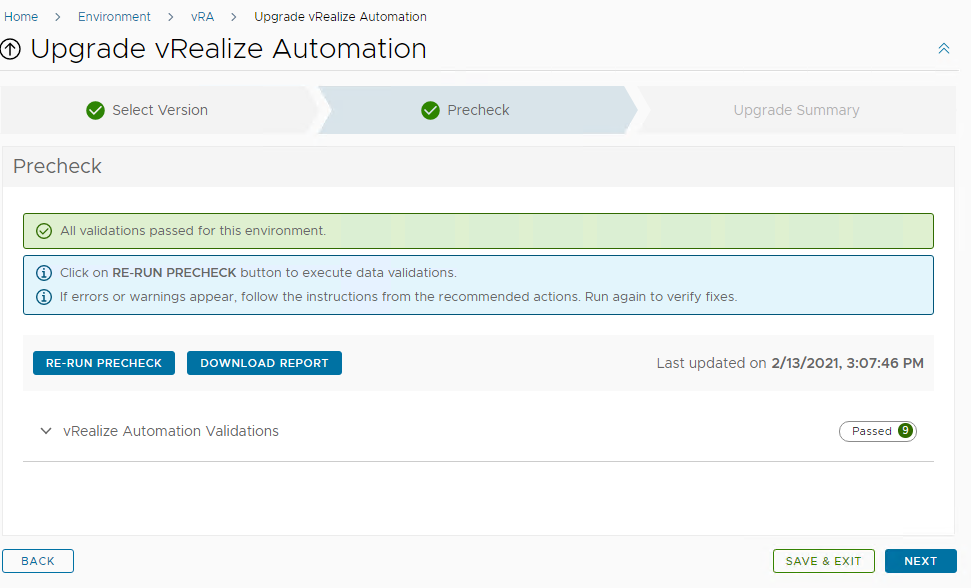
submit upgrade task
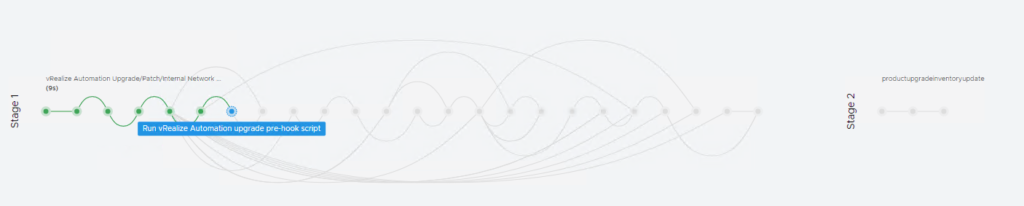
Now, Go grab a cup of coffee, This step generally takes a while.