Greetings!!,
I am writing this based on a popular request by partners.
API specification/tempalte
Usage meter API guide: https://developer.vmware.com/apis/1206/vcloud-usage-meter
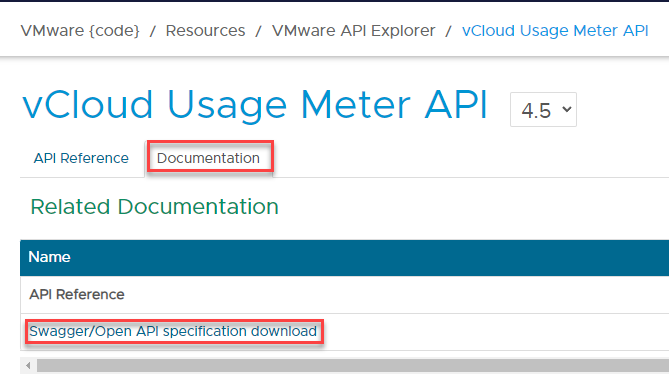
usage meter OpenAPI specification: Click here to download JSON or use the below:
https://vdc-download.vmware.com/vmwb-repository/dcr-public/d61291b6-4397-44be-9b34-f046ada52f46/55e49229-0015-43d7-8655-b164861f7e0d/api_spec_4.5.jsonYou can find the openAPI specification on the API guide link > Documentation:
We will be using this JSON with postman.
Import template to postman
on postman, Navigate to File> import > (
either import the json file downloaded with previosu steps or use the URL. In my case I have used URL
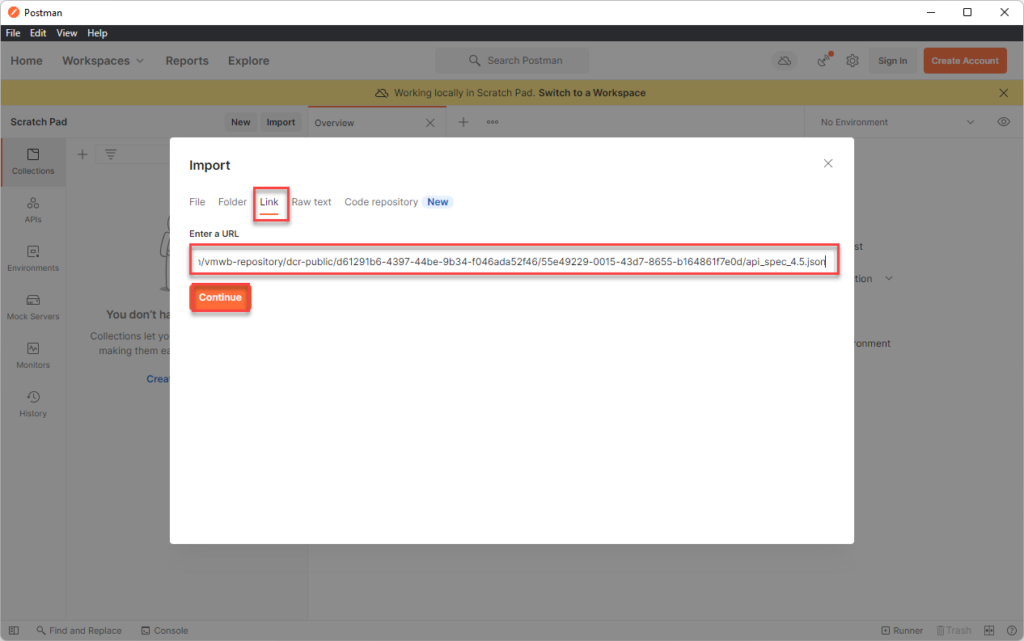
and then click on import
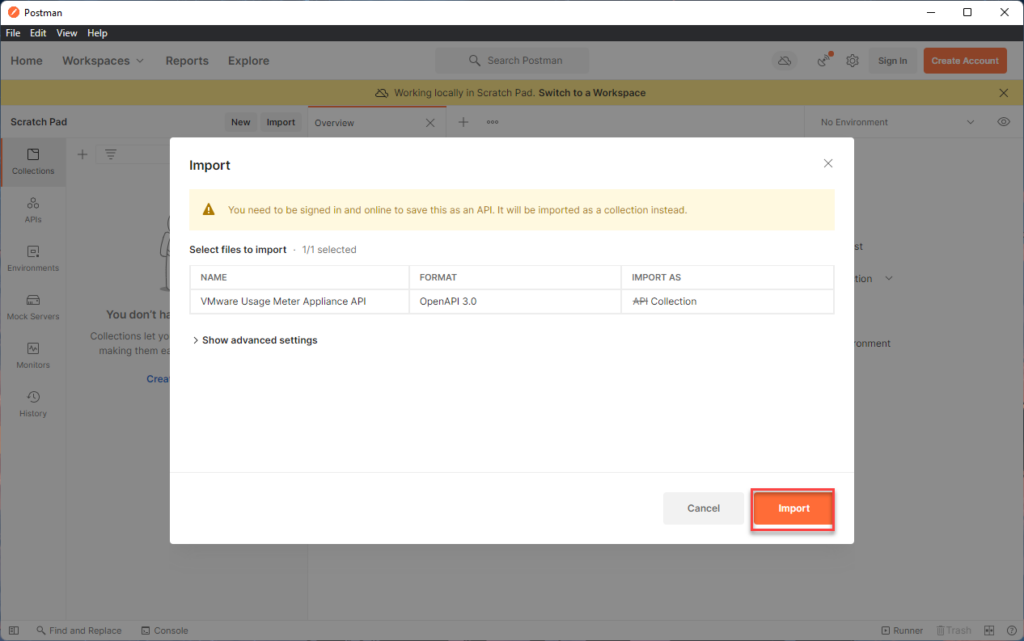
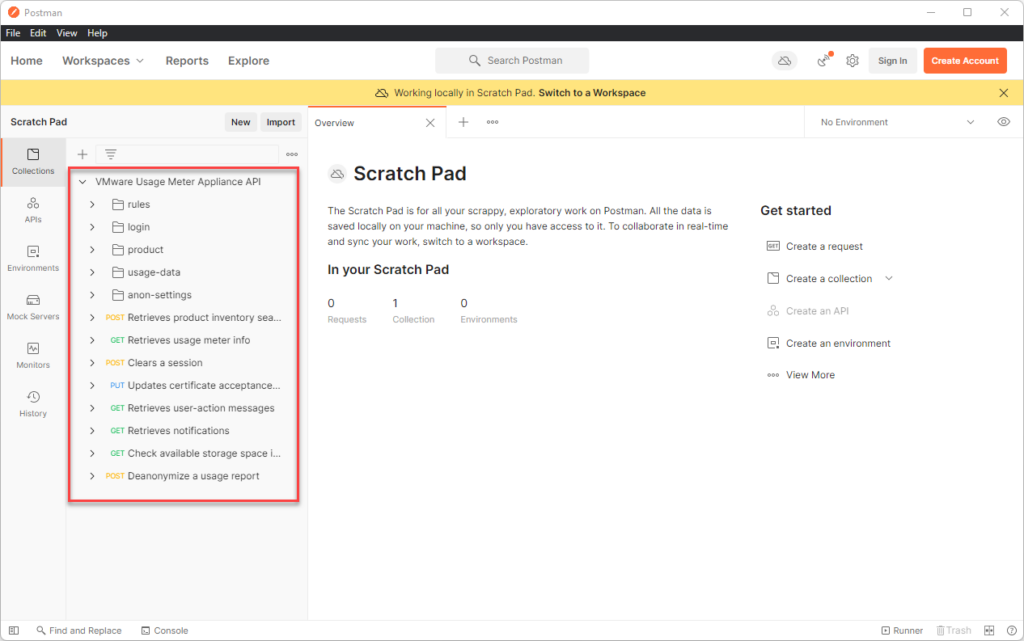
you should now see the API collections listed like so:
Set up variables via Enveronment
we will be using 2 variables
- baseUrl
- SessionID
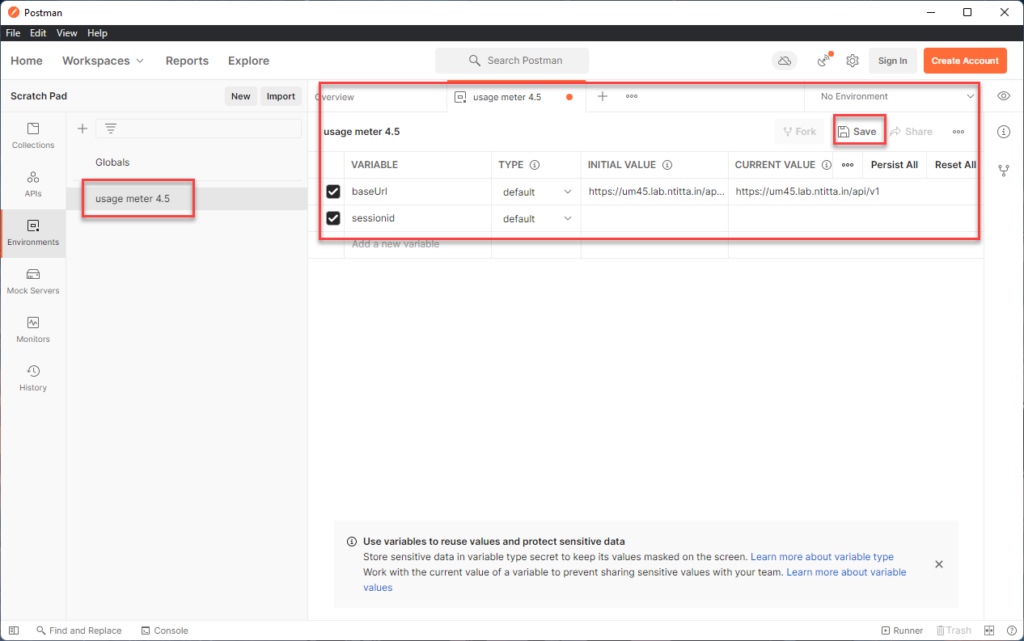
Navigate to Environment and create a new Env.

Enter a name of the enveronment and then in the variables, add baseUrl with value https://um_ip/api/v1
leave the sessionid blank for now. Ensure that you hit the save button here!!!
Generating a SessionID
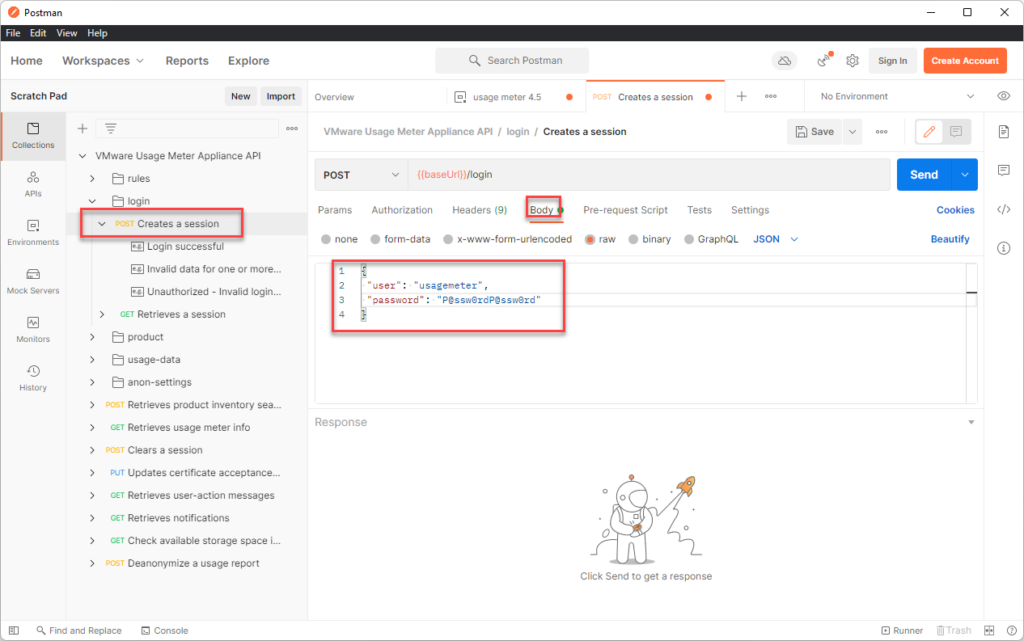
navigate back to collections > usage meter collection>login > create a session.
Click on body and enter the credentials
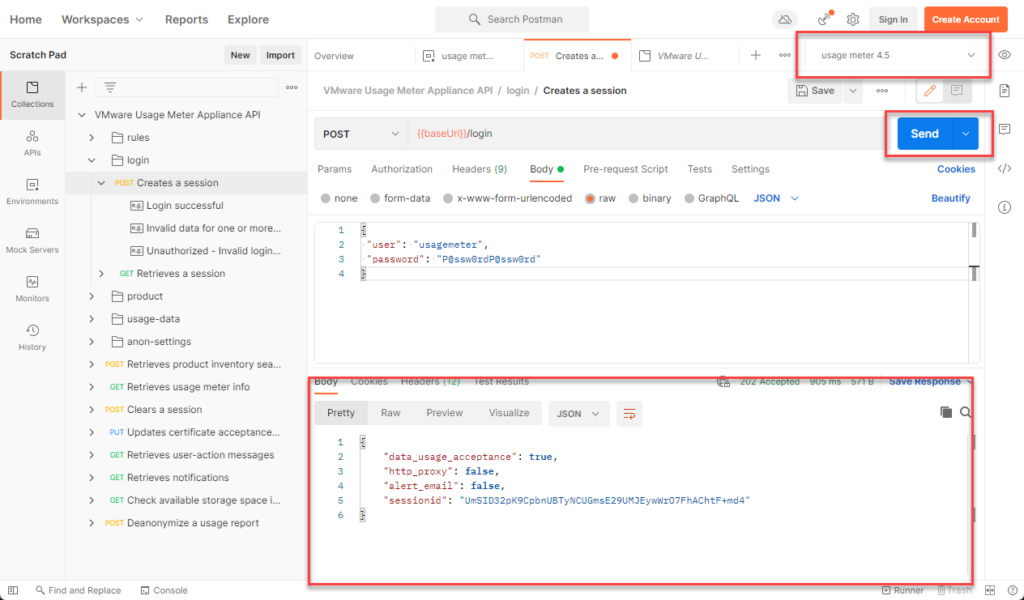
Switch the environment to usage meter 4.5 that we created in the previous step and hit send. we now have a sessionid
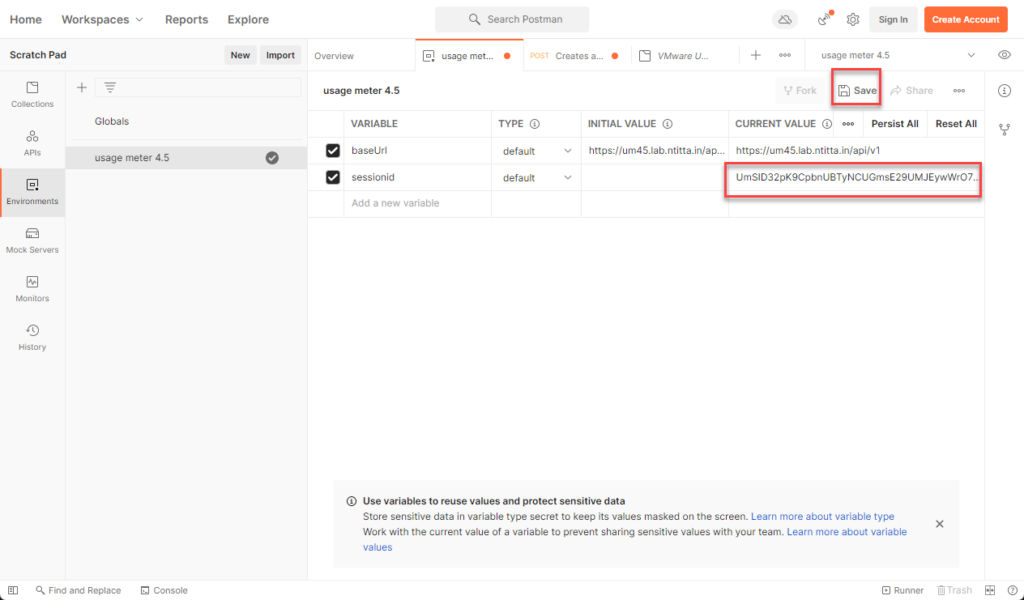
Go back in to environments > usage meter env > edit the sessionid field there and paste the sessionid you generated in the previous step: and ensure that you click on save!!
Add a vCenter endpoint
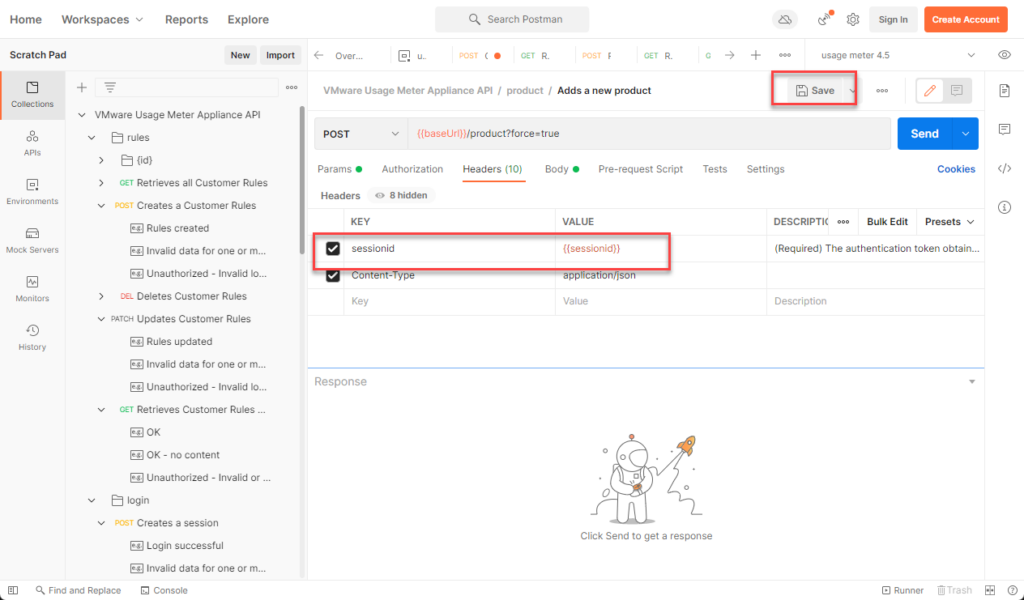
Navigate back to collection > usage meter collection > product> Adds a new product> header> repalce the value of sessionid with {{sessionid}} and hit save (you will need to add the sessionid variable for all api’s going forward with similar steps)
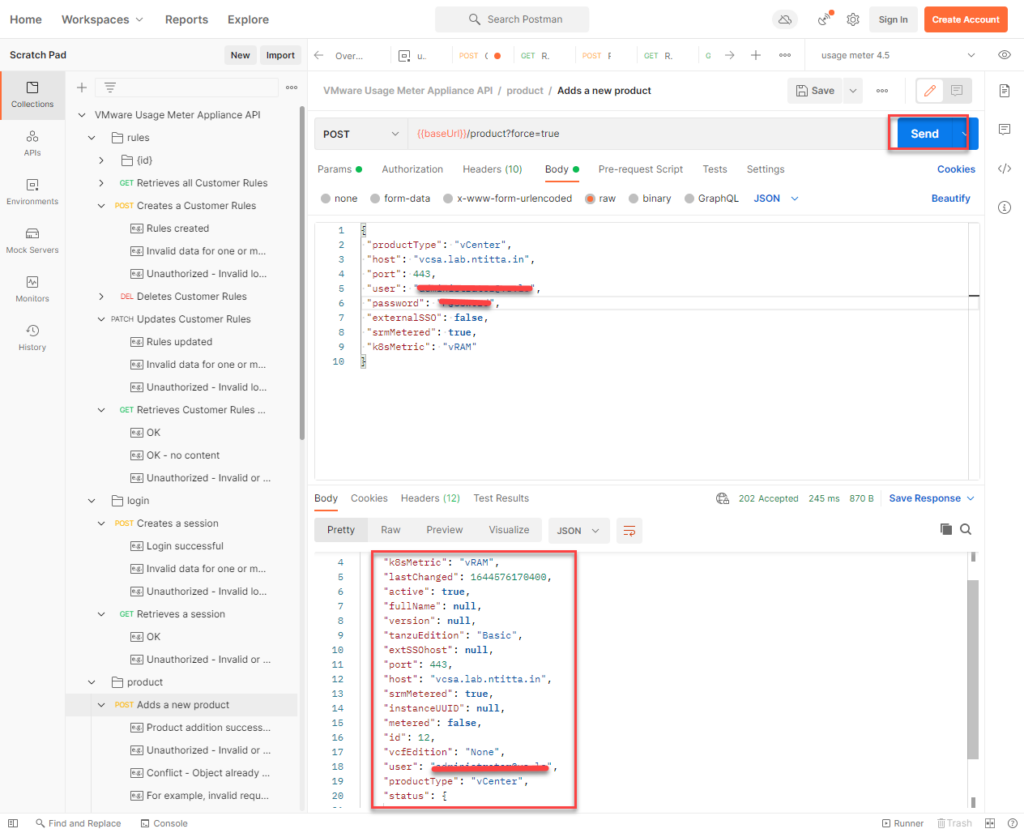
Switch to body and replace the raw data with the vCenter details:

Hit send and the product should be added to usage meter:
Usage meter:
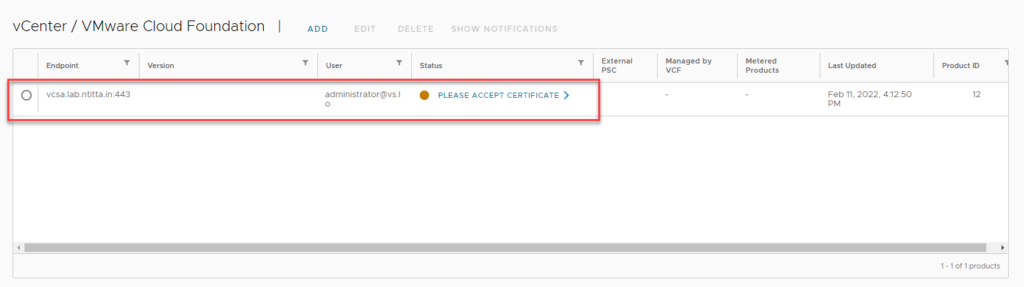
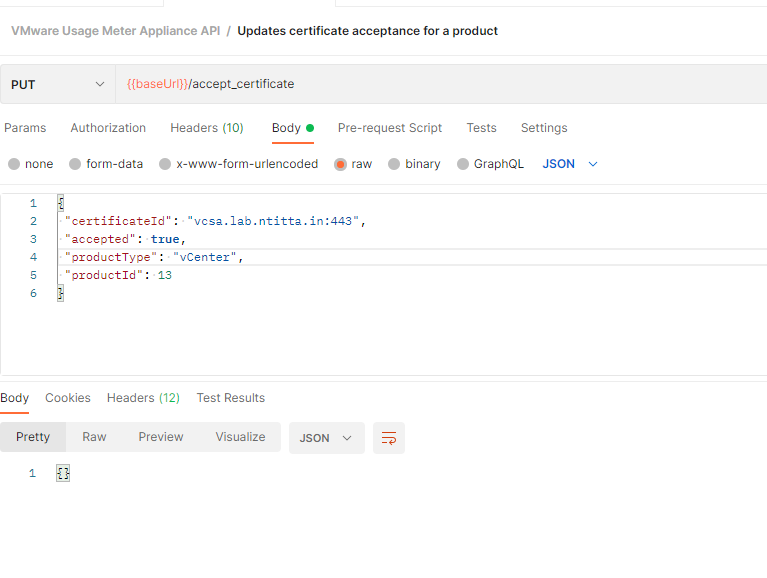
accept certificate