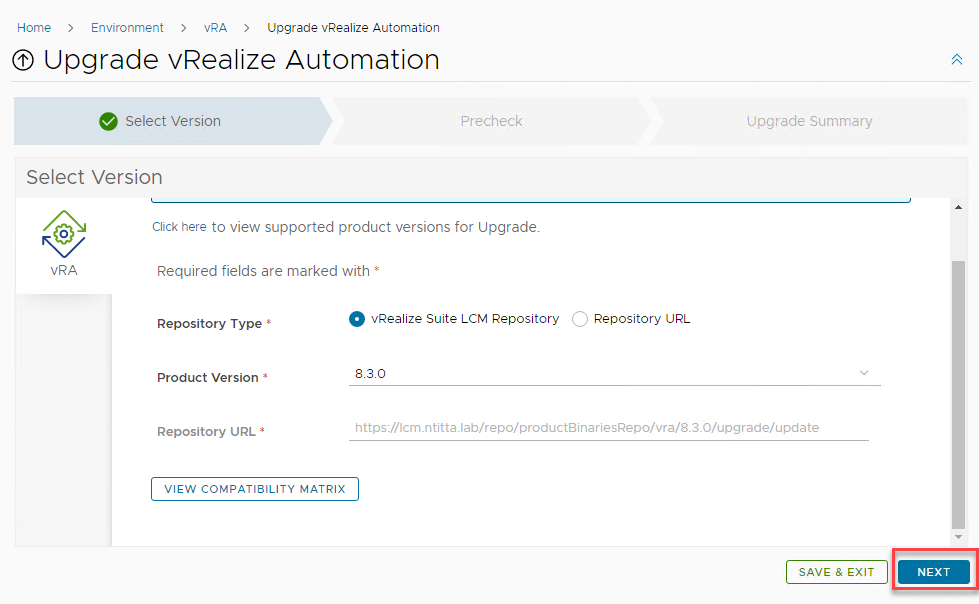
upgrade vRA 8.2 to 8.3

Upgrade LCM

Log in to LCM> Lifecycle operations> Settings> System upgrade

Create snapshot

Once snapshot is done, Click on Check for upgrade,

vRLCM will reboot as a part of the upgrade. Wait patiently… (go have a coffee)

On successfull upgrade, we should see :

Add vRA package repository to LCM

Download vRA 8.3 upgrade repository from https://my.vmware.com/group/vmware/downloads/details?downloadGroup=VRA-830&productId=1116&rPId=59213

copy the ISO to LCM, /data directory

Now, Go back to LCM> Lifecycle operations> settings > Binary mapping>Add product binaries, enter path in base location and then cick on discover
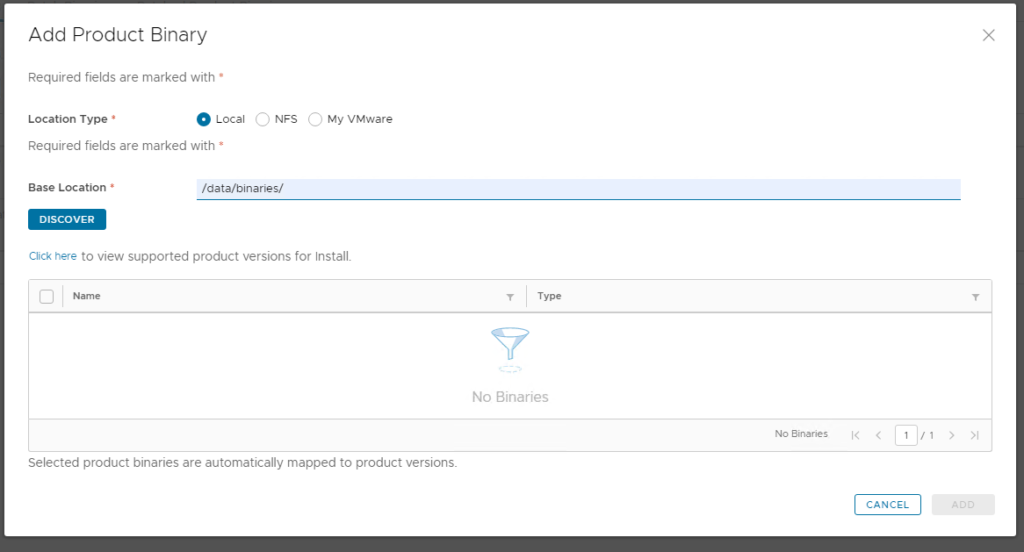
Clock on the prelude(the one we uploaded) and click on add
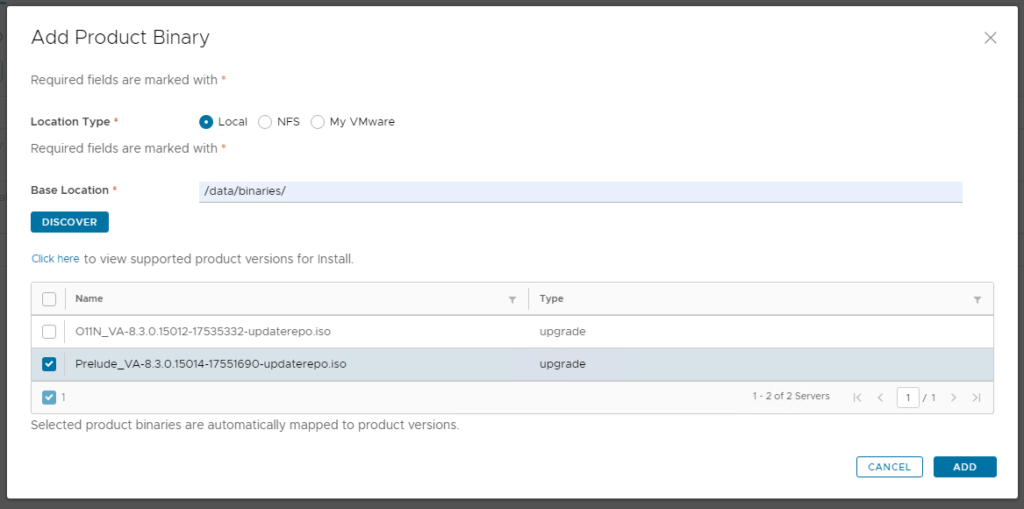
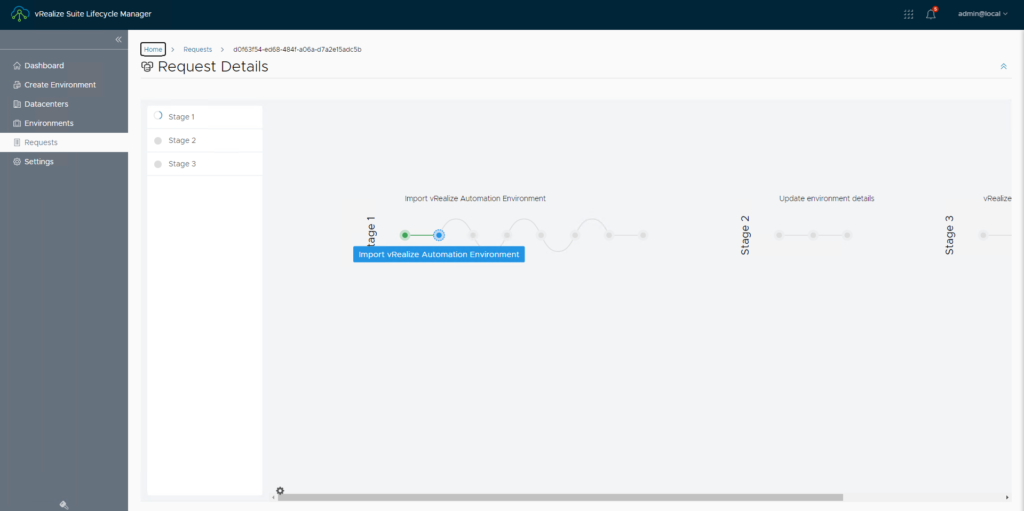
wait for the import task to compleate. You can take a look at the task by clicking on requests > Click on the most recent request

On successfull import, you should see it in the binary mapping:

Upgrade VRA:

Now that the upgrade packages have been uploaded to LCM, Go into LCM > LifeCycle Operations > Environments > Click on “view details” for the vRA environment.

Triger inventory sync:

Go grab a coffee!!, Typically at this point its just waiting for vRLCM to perform the upgrade.
Click on upgrade:

Run pre-check

wait for pre-check to complete: (takes about 3-10 min)

submit upgrade task

Now, Go grab a cup of coffee, This step generally takes a while.

Getting started with salt stack and VMware (vCenter)

Salt stack (salt open) is an opensource utility that can be used to orchestrate vCenter tasks. In this blog, I will guide you on how to install, and set a basic clone operation with salt stack.

Install:

pre-requisite: Linux VM (cent os or ubuntu), I’ve used Ubuntu 20.4 for the below example.

Log into ssh of the ubuntu VM, and add salt stack repository:

wget -O - https://repo.saltstack.com/py3/debian/10/amd64/latest/SALTSTACK-GPG-KEY.pub | sudo apt-key add -

add key: in /etc/apt/sources.list.d/saltstack.list

nano /etc/apt/sources.list.d/saltstack.list

add the below line on the file:

deb http://repo.saltstack.com/py3/debian/10/amd64/latest buster main

update repository

sudo apt update

install stalt stack

sudo apt-get install salt-master salt-minion salt-ssh salt-syndic salt-cloud salt-api -y

Edit vi /etc/salt/master and add the salt master IP address to interface

interface: 172.16.8.9

Configuring VMware provider

Pre-requisite: Pyvomi must be installed

sudo apt install python3-pip
pip3 install pyVmomi

Confirm pyvomi is imported:

python3 -c "import pyVmomi" ; echo $?

Setup cloud provider:

create /etc/salt/cloud.providers.d/vmware.conf with the below contents: (replace user, password and url as per what you have in your enveronment)

#/etc/salt/cloud.providers.d/vmware.conf
vcsa:
 driver: vmware
 user: '[email protected]'
 password: 'P@ssw0rd'
 url: 'vcsa.ntitta.lab'
 verify_ssl: False 

homelabs:
 driver: vmware
 user: '[email protected]'
 password: '*************'
 url: 'vcsa.ntitta.in'

now you can test the above config by querying for images using below command:

salt-cloud --list-images vcsa

Okay, Now, lets set up profiles: Create /etc/salt/cloud.profiles.d/vmware.conf with the below content:

#/etc/salt/cloud.profiles.d/vmware.conf
ubuntu20:
 provider: vcsa
 clonefrom: ub20
 cluster: vSAN
 ssh_username: root
 password: 'P@ssw0rd'

update salt config

 salt-cloud -u

Test a deployment:

salt-cloud -p ubuntu20 test-stal1-vm

Troubleshooting: (enable debug by using the below )

salt-cloud -p w16k salty-w16-test-1 -l debug